
Application of Decals
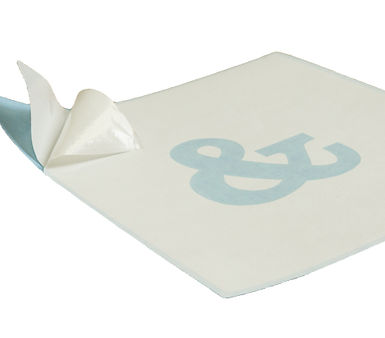
-Blue backing paper
-Vinyl layer
-Application tape
Step 1: Align the decal on toy and mark. A grease pencil works well.
Step 2: If desired, but not necessary, you can lightly mist the area with water and a light soap solution. This can help when placing larger decals and will allow you to align your decals slightly and minimize air bubbles.
Step 3: Carefully remove the backing paper from the vinyl layer and application tape, ensuring the decals stay on the sticky tape on top.
Step 4: Align with marks on toy. Working slowing from one side to the other lay tape down.
Step 5: Smooth over decals with your hand, applying light pressure. Using a credit card wrapped in a wash cloth, firming press and squeegee the remaing water mixture and bubbles out from under the decals.
Step 6: Remove the application tape from on top of the decals. If decals stick to the application tape, squeegee again and allow to dry out longer before trying again.
Voila!
Take a picture and send it to Creative Graphics!